What I need in my new tote:
A shortish bag - so I can't overload it and crush the lettuce.
A wide base / bottom.
Stiff sides so the bag does not collapse and will stay upright when placed it on the ground to pack up yummy fresh veggies.
A few clips that I can attach my keys and a yet unmade wallet to.
I made one early this am which met most of the requirements but it was not quite what I wanted (a craft fail).
Made some modifications after lunch and I am pleased with the results.
Please remember I am stash busting, at one point in my sewing life I was certain that I would love primitive quilting and only wanted to work in browns. I have a lot of brown fabric. Some of this fabric dates back to the Moda Quilt challenge of 2004 (?).
Supplies Needed:
8 Fat Quarters or equivalent fabric (about 2 yards).
1 yard Pellon Fusible Fleece
Walking foot on Machine
Optional
Cotton Strap Webbing
Swivel Clasp
1/2 inch seam allowance
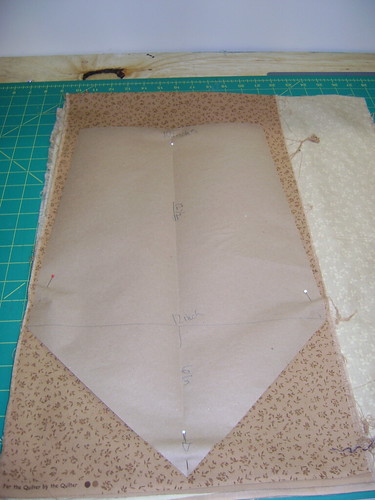
Make your pattern! The pattern is super simple.
Fold a 18 x 20 pieces of paper in half.
At the top of the paper measure 5 inches from the fold. Mark it.
Measure down the fold 12.5 inches. Measure out from that point to 6 inches. Mark it. Draw a line from the 5 inch mark at the top to the 6 inch mark 12.5 inches below.
Using the 45 degree angle marks on you cutting mat and a straight edge. Mark the 45 degree angle from the 6 inch mark to the fold. (the length after the 12.5 inch mark to the tip of the pattern in about 6 inches).
Cut out your pattern.
From Pattern
Cut 8 of quilt cotton.
Cut 4 of Fusible Fleece.
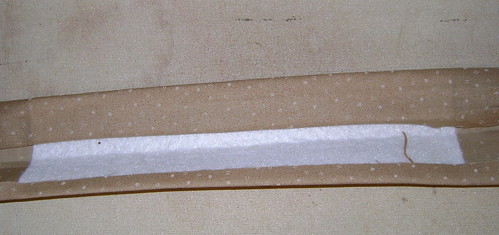 Press Fusible fleece onto the wrong side of 4 cotton pieces following the manufacturers instructions.
From scrap cotton cut 2 straps 5 x 15
cut 2 fleece pieces 4 x 6
Fuse the fleece into middle of the wrong side of the strap fabric.
Fold the fabric in to hide the raw edges and top stitch down.
From the cotton strap webbing cut two longer straps. I measured from my waist over my shoulder to my waist again (about 40 inches). I think it may be too long. I am going to drop it back to 30 inches on the next one.
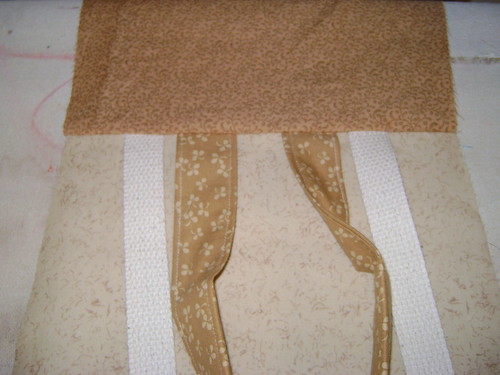
Take 2 of the cotton and fleece piece to a flat surface.
Mark the center top of both pieces.
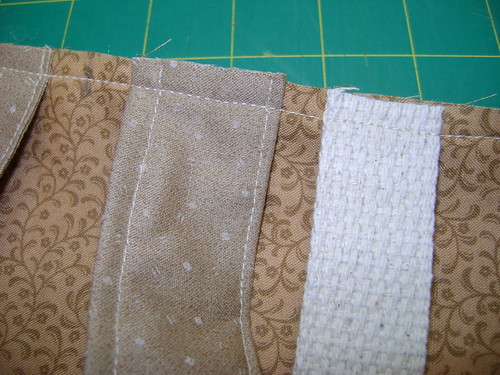
Pin the short fabric straps .5 inches away from the center mark.
Pin the longer straps. 5 inches away from the fabric straps.
Stitch the straps down.
Optional Step:
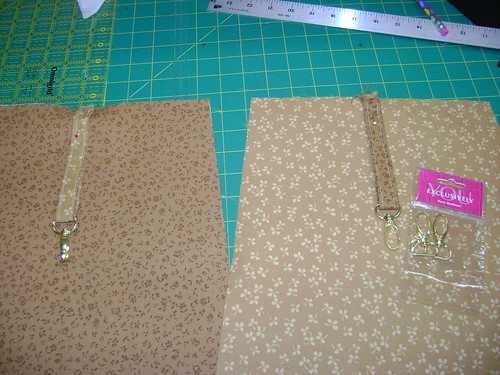
Cut a 3 x 8 ish length from 2 other scraps of cotton.
Fold in the raw edges and top stitch.
Slide the strap into a swival clip and pin into the center of the remaining 2 cotton/fleece pieces.
Stitch in place.
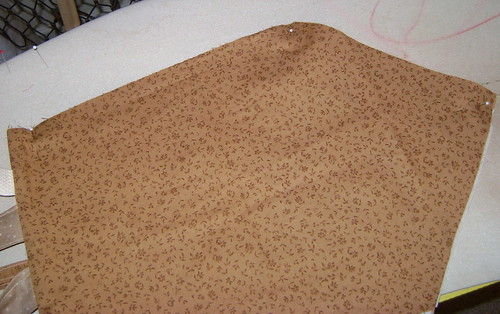
Take a plain piece of cotton and a cotton / fleece piece.
WST line up the top edge.
Sew across the top 1/2 inch from the raw edge.
Open, flip RS out press down.
Repeat 3 more times.
You now have four side with a finished top.
Take 2 pieces, one with straps, one with a clasp.
Lay them on top of each other. MAKE sure that the fleece cotton piece in on the inside.
Start stitching at the finished top edge BACK STITCH.
Pivot at the corner and then sew off the bottom point.
Repeat with other 2 pieces. Make sure you sew both side the same way.
Finish the side seam. I used a serger. A zig zag stitch will also work.
Open and turn one of the 2 sewn pieces.
Place finished side into the other finished side, you can see the raw edge outside.
Align and Pin.
Start sewing from one finished top, down the side, pivot, careful of the bottom seams, pivot at the side and back to the other finished top.
Back stitch at the start and stop.
Finish seams.
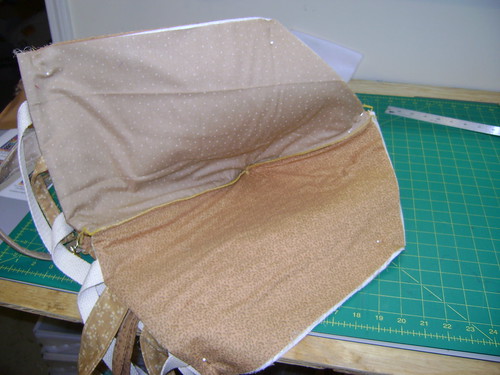
Detail inside bottom.
Top stitch around the top finished edge.
Make sure the swivel hooks are falling inside the bag.
Outside bottom detail.
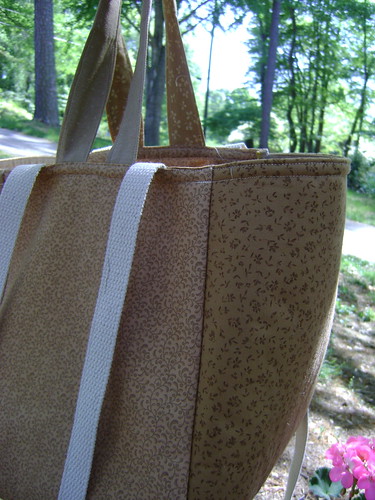
I am pleased with the bag. I used up about 2 yards of fabric. It stand up by itself. It is roomy with out being over large. Hopefully by next Saturday I will have the change purse with zipper and clasp ready so I can find my money to pay the farmers.






3 comments:
Linking up to this this weekend!! Yay!
hey! linking to this tomorrow on dabbled.org :)
You have THE tutorial knack! Excellent! Artists really do know how to speak with their media!
Post a Comment