
Sharing my thoughts on sewing, crafting, recycling and life as someone who makes stuff (mostly messy stuff).
Working the Window @ VSA
Last week I got to sit in a window @ the VSA Gallery for 4 hours and make ornaments. Lots of folks stopped to watch. Good Fun was had by all.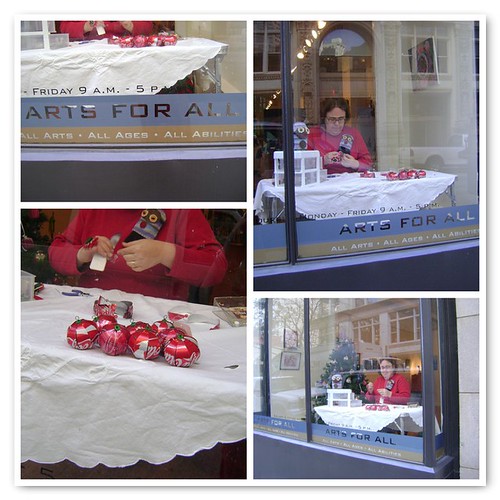
Sloth Craft @ ICE
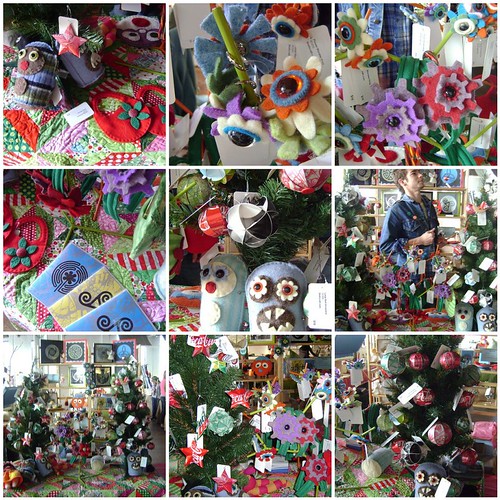
Wow ICE was a blast. The place was hopping all day long. The soda can ornaments were a huge hit. My nephew came along for the ride and found some gifts, mostly for himself. I slept for a couple of days to recover.
E*L Sapo's 11th Annual Holiday Artist Market
Handcrafted Artful Gifts from over 25 local artists!
folk art to fine art and everything in between
Opening Party Wed, Dec. 2, 2009 (6pm - 8pm)
Thur, Dec. 3 (10am - 5pm)
Fri, Dec. 4 (10am - 4pm)
Sat, Dec. 5 (10am - 4pm)
Sun, Dec. 6 (1pm - 4pm)


I have all of Thanksgiving Holiday to power up on crafty goodness.
Madly Preparing for ICE

The 2009 Holiday Shopping Spectacular will be November 21st at Ambient Plus Studio. 100 vendors!
See us in booth 10!! ICE ROCKS
Talk of Alabama
The Naked Art Gallery's Veronique Vanblaere showcases few unique gifts for the holidays.
Three Sloth Craft ornaments are in the video clip.
Craftland Show 2009
Just boxed up my work to send off to Craftland.

Craftland Show is an annual holiday sale in downtown Providence, RI that celebrates all kinds of sparkly handmade objects and the people who make them.
DATES: December 4 - 31
HOURS: Seven days a week 10am - 6pm
Open late: Thursdays and Saturdays 10am - 8pmLOCATION: 235 Westminster St Providence RI 02903
CONTACT: 401.272.4285 or info@craftlandshow.comCheck out their blog for our exciting news, artist interviews, updates and more!
Spruill Holiday Market

Collage Necklace Redone
I originally saw this on the wonderful and inspiring Threadbangers program and thought it would be a cool use of the new Honey Buns from Moda. Yea howdy it worked great. Since the rolls are already 1.5 x WOF there is no prep work. Here how I did it.
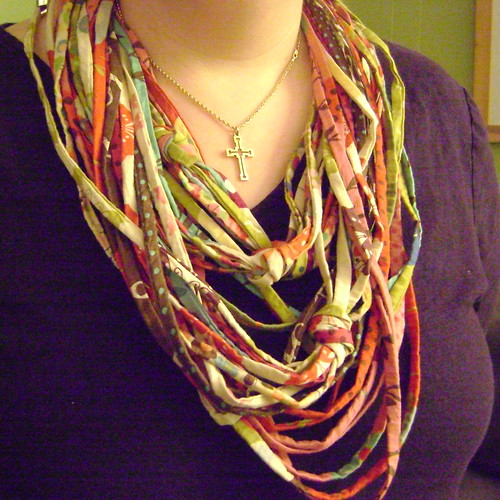
Fun & Fast way to adorn yourself with one of the cool new Honey Buns from Moda.
Originally aired on ThreadBangers.com
1. Pick a cool new Honey Bun (1.5 inch stripe x WOF)
2. Fold strips in half and stitch ¼ inch from the fold. (save at least one)
3. Trim raw edge to within 1/8th inch from stitch line.
4. Use a bobkin or safety pin to turn the tube.
5. Stitch all of the selvage tube ends together (use a denim needle) Sew Slowly. Trim ends to even.
6. Cut some of the tubes shorter or knot them.
7. Line all of the other tub ends together and stitch slowly.
8. Trim ends to even.
9. Lay one side over the top of the other to form a circle and sew down.
THIS IS VERY THICK AND WILL BREAK YOUR NEEDLE IF YOU DON’T SEW SLOWLY.
10. Take the saved strip and wrap it around the raw sewn edges.
11. Stitch down.
12. Slip it over your head and sport a cool new fabric necklace.
Here is my inspiration the Thread Banger Episode. WELL the video appears to be compromised. Here is a link
String Quilt Tutorial
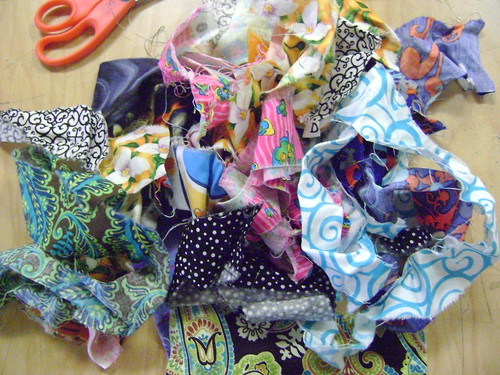
 Are you familiar with the amazing quilts done in Gee's Bend Alabama? My students and I studied the work of these creative and industrious women; discussing their motivation, their utilitarian quilts, and their fame, ultimately the quilts ended up in museums across the county.
Then I taught them to sew. Keeping with the theme of reuse, I brought my students all of the first rips that I save when I square up a fabric.
 Most of the kids had never sewed. I decided we would create a string pieced log cabin styled block on a muslin foundation. Pretty easy and if their stitches got a bit too big the foundation would sturdy it all up.
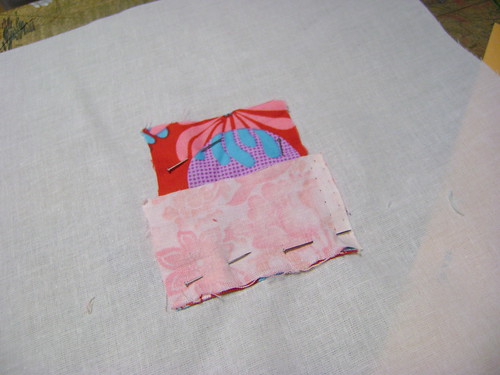 Start with a center block and a second piece that is the same length as one side.
- Lay the bottom piece RS up on the foundation and then lay the top piece RST, aligned on one edge, see the tiny sliver of the bottom piece peeking out.
- Sew approx where I stuck the pins in. Instead of harping on the quarter inch, I told the students to measure the seam with the nail of their pinkie finger, which is usually approx 1/4 inch (except for the really big boys, they made a jig to measure with).
 Flip open the first seam and press, then add the third piece , which should be long enough to catch the raw edges of the first two pieces. (Notice my students used the selvage, I told them to remove it but most missed that part).
- Flip open the third pieces and press.
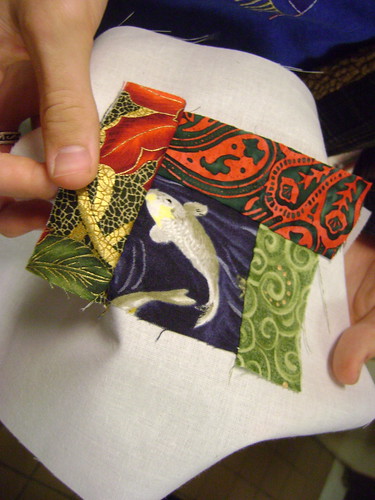 Add a fourth and continue around the block until you reach the edge of the foundation piece.
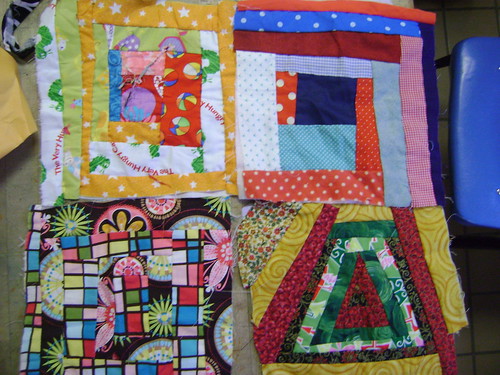
Here are a few of the finished blocks. One student even tried a triangle. I am so proud. They will ultimately make a large pillow with four blocks or a small quilt. If you look too close you might see a raw edge that did not get completely sewn down, no worries they will also learn the fine art of raw edge applique, yo yos and always, we can fix it when we quilt it. I love this project!
Fall 09 Fabric Festival
Well the weather outside was frightful, but the deals were so delightful.
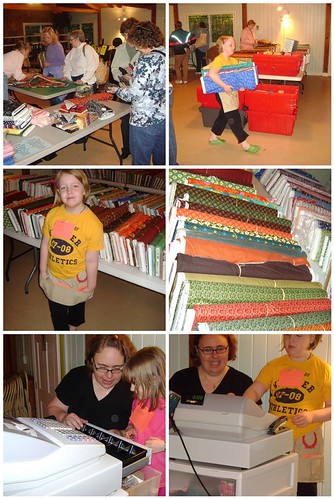
Thanks to all of you who braved the rain and cold to make our 4th Annual Fall into Fabric Festival a huge success.
Thanks to my girls for stepping up and adding the third generation of worker bees. Another year or two and I can retire and let them take over, right?
Thanks to my moms (Joyce & my other mother Barbara) who got here from Blue Ridge faster than they did from my MIL's house (only 9 miles away). The scenic tour included Acworth and historic Roswell. I know from my childhood that my mom can get you there but she can't always get you back.
November's month long birthday celebration will commence shortly so join our newsletter or follow us on Twitter so you can be the "First to Know"
Subscribe to:
Posts (Atom)