
 Are you familiar with the amazing quilts done in Gee's Bend Alabama? My students and I studied the work of these creative and industrious women; discussing their motivation, their utilitarian quilts, and their fame, ultimately the quilts ended up in museums across the county.
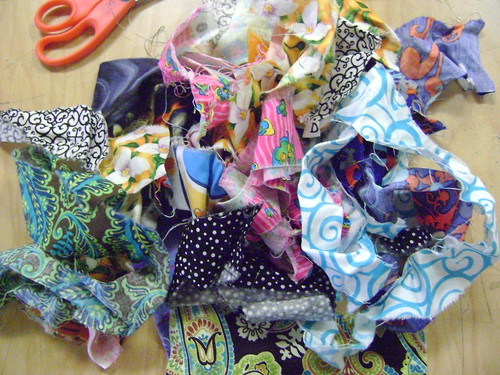
Then I taught them to sew. Keeping with the theme of reuse, I brought my students all of the first rips that I save when I square up a fabric.
 Most of the kids had never sewed. I decided we would create a string pieced log cabin styled block on a muslin foundation. Pretty easy and if their stitches got a bit too big the foundation would sturdy it all up.
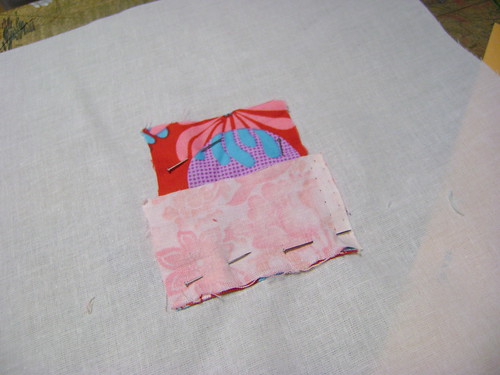 Start with a center block and a second piece that is the same length as one side.
- Lay the bottom piece RS up on the foundation and then lay the top piece RST, aligned on one edge, see the tiny sliver of the bottom piece peeking out.
- Sew approx where I stuck the pins in. Instead of harping on the quarter inch, I told the students to measure the seam with the nail of their pinkie finger, which is usually approx 1/4 inch (except for the really big boys, they made a jig to measure with).
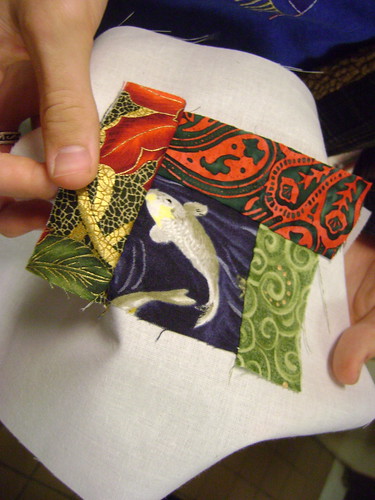
 Flip open the first seam and press, then add the third piece , which should be long enough to catch the raw edges of the first two pieces. (Notice my students used the selvage, I told them to remove it but most missed that part).
- Flip open the third pieces and press.
 Add a fourth and continue around the block until you reach the edge of the foundation piece.
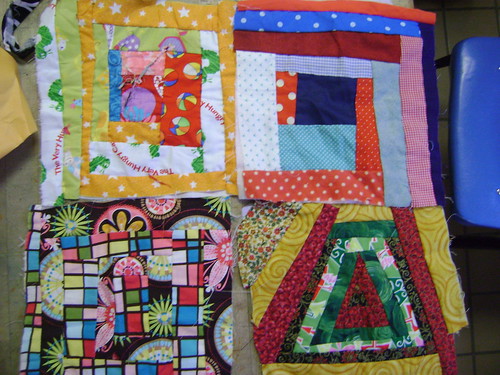
Here are a few of the finished blocks. One student even tried a triangle. I am so proud. They will ultimately make a large pillow with four blocks or a small quilt. If you look too close you might see a raw edge that did not get completely sewn down, no worries they will also learn the fine art of raw edge applique, yo yos and always, we can fix it when we quilt it. I love this project!
No comments:
Post a Comment